
How to connect a Razer mouse to a new USB receiver
Losing or damaging the original wireless dongle does not necessarily mean replacing the entire Razer mouse. Many models can be paired with a compatible replacement receiver, but the correct procedure depends on the mouse, the dongle type and the pairing tool Razer provides for that combination.
Key takeaways
- Identify the exact mouse model and receiver type before downloading any utility.
- Some mice use Razer Mouse Pairing Utility, while others are handled by USB HyperSpeed Dongle Utility.
- Razer HyperPolling Wireless Dongle follows a separate pairing process inside Razer Synapse.
- A mouse not appearing in a utility often points to compatibility or workflow issues rather than a failed mouse.
Which Razer pairing method should you use?
| Situation | Tool | Key requirement |
|---|---|---|
| Mouse is listed for Mouse Pairing Utility | Razer Mouse Pairing Utility | Receiver and mouse connected to the PC during pairing |
| Mouse is listed for USB HyperSpeed Dongle Utility | USB HyperSpeed Dongle Utility | Allow any receiver update to finish before pairing |
| Using HyperPolling Wireless Dongle | Razer Synapse / Open Pairing Utility | Mouse in 2.4 GHz mode, unplugged from USB, original dongle removed |
| Razer provides a model-specific guide | Dedicated model utility | Follow the model's own support instructions |
Start by identifying the mouse and the replacement receiver
A Razer logo and a 2.4 GHz connection do not make every dongle interchangeable
Before trying to pair anything, find the full model name of the mouse and, if possible, its RZ01 model number. Razer currently maintains separate compatibility lists for Mouse Pairing Utility, USB HyperSpeed Dongle Utility and HyperPolling Wireless Dongle. A receiver intended for one family of devices should therefore not be assumed to work with every wireless Razer mouse.
The label on the underside of the mouse is usually the most reliable place to identify it. You may also be able to see the model in Razer Synapse if the device still works over USB or another connection. Pay attention to the full variant rather than only the family name: different DeathAdder, Basilisk, Viper or Naga generations can use different utilities and receivers.
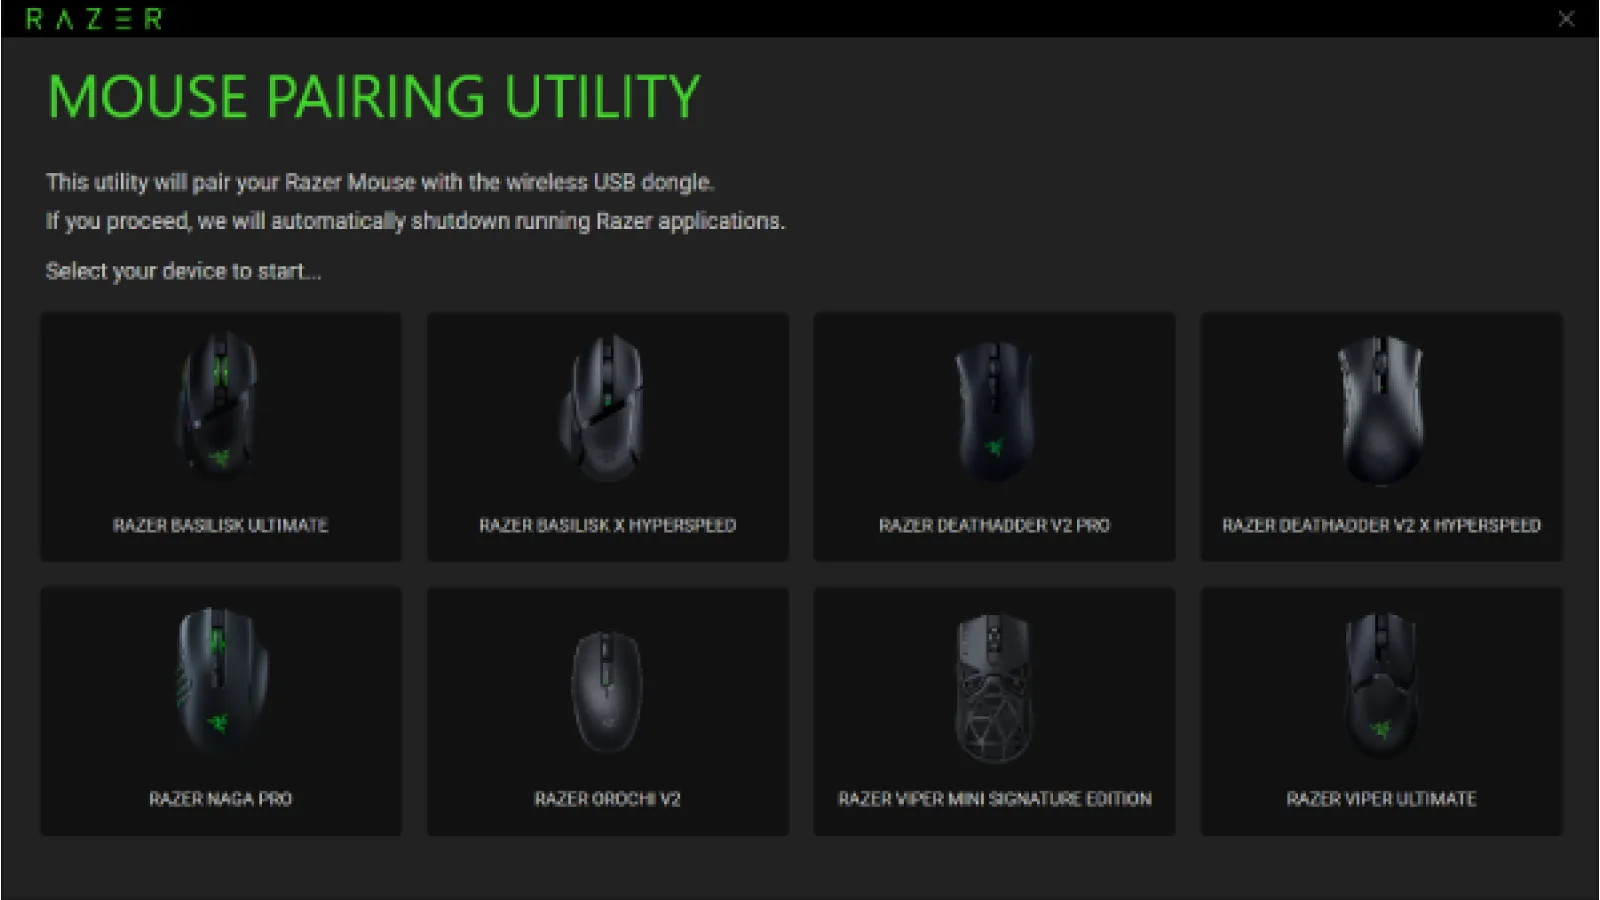
Razer's current Mouse Pairing Utility list includes models such as the Basilisk Ultimate, Basilisk X HyperSpeed, DeathAdder V2 Pro, DeathAdder V2 X HyperSpeed, Naga Pro, Orochi V2 and Viper Ultimate, alongside selected newer products. The USB HyperSpeed Dongle Utility has its own broader list. Because these lists can change when new hardware and utility versions are released, check the official support page before purchasing a replacement dongle.
- Find the complete mouse model and RZ01 number.
- Identify whether the receiver is standard HyperSpeed, HyperPolling or a multi-device dongle.
- Confirm compatibility on Razer Support before attempting pairing.
Prepare the computer before running the pairing tool
The standard workflow often needs the receiver and a wired mouse connection at the same time
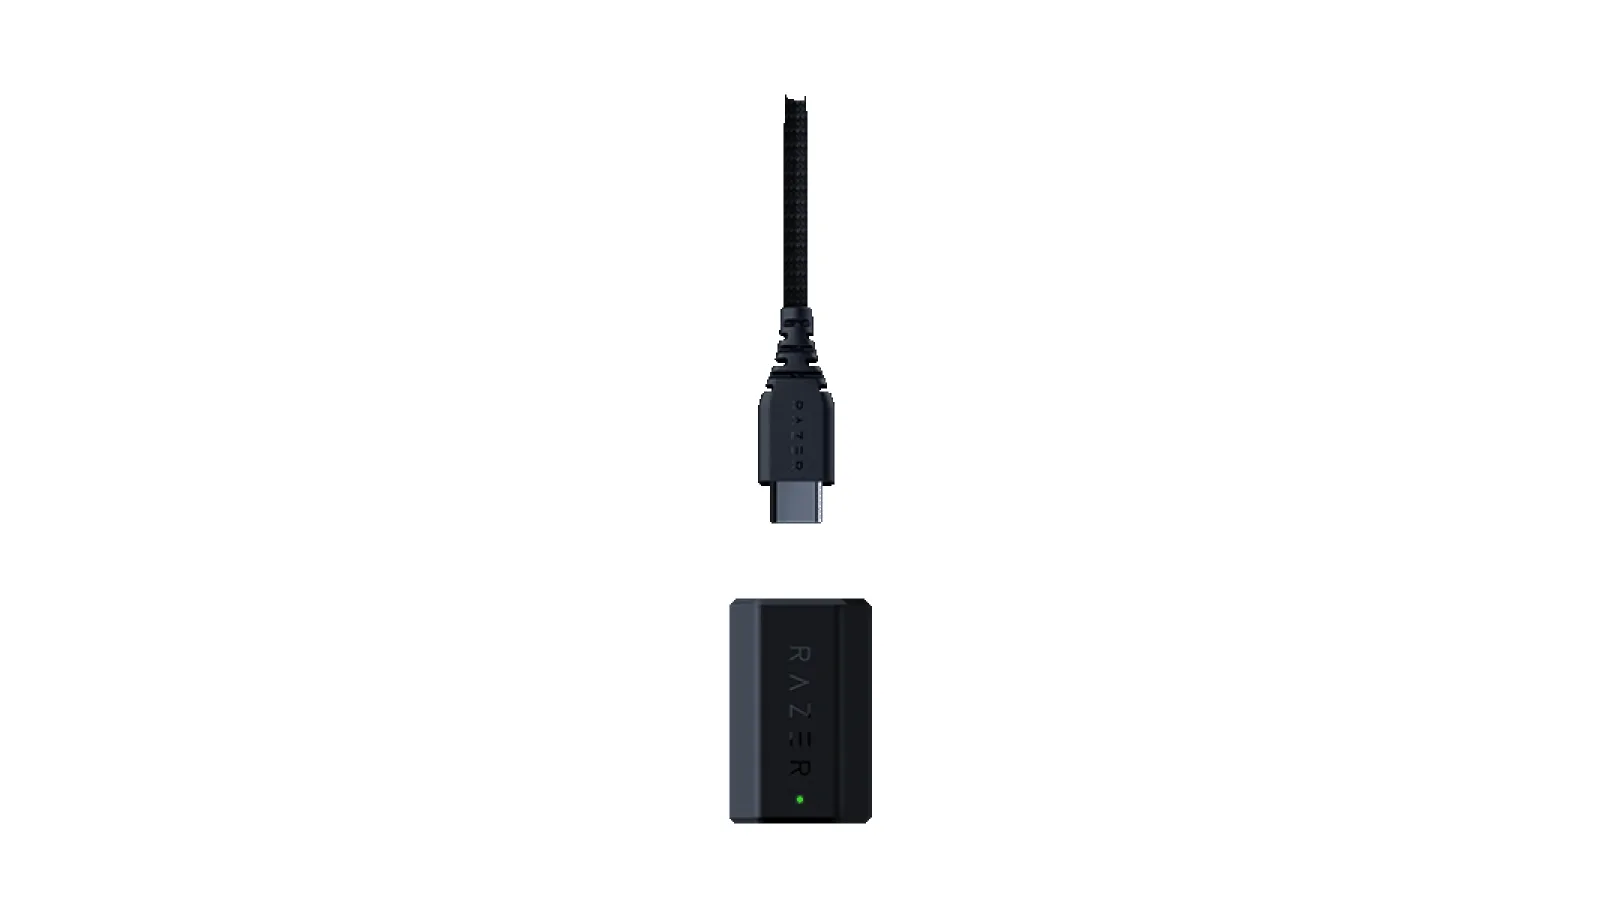
For the standard Razer Mouse Pairing Utility procedure, Razer instructs users to plug the wireless USB dongle into the PC and connect the mouse to the computer with its supplied USB cable. The utility then uses both connections while writing the new pairing relationship.
Charge the mouse first so a low battery cannot interrupt the process. It is also sensible to disconnect other unused Razer receivers temporarily and use a direct USB port on the PC rather than an unreliable hub. If the mouse must be connected by cable, use a cable capable of data transfer; a charge-only cable may provide power while preventing the utility from detecting the mouse.
Download the pairing application from Razer Support rather than a third-party download archive. Razer's current support page provides both Mouse Pairing Utility and USB HyperSpeed Dongle Utility and identifies the devices intended for each one. Choosing the correct tool matters more than repeatedly reinstalling a utility that was never designed for your particular mouse.
- Charge the mouse.
- Have a data-capable USB cable ready.
- Connect the receiver directly to the computer where possible.
- Use the utility linked by Razer for your exact model.
Pairing with Razer Mouse Pairing Utility
The standard replacement-dongle procedure
Launch Razer Mouse Pairing Utility and approve the Windows User Account Control prompt if it appears. Choose the exact mouse model shown by the utility. Plug the compatible replacement wireless receiver into the computer, then connect the mouse to the PC using its USB cable. This is the sequence documented by Razer for the current Mouse Pairing Utility.
When both devices have been detected, click PAIR and leave the receiver and mouse connected until the process finishes. The utility writes the association and displays a completion screen. Razer's instructions then direct the user to close the application once pairing has completed successfully.
After that confirmation, disconnect the cable from the mouse while leaving the replacement dongle connected. Put the mouse into its 2.4 GHz wireless mode if the model has a multi-position connection switch, and check whether the pointer responds. Test the buttons and scroll wheel as well.
It is useful to unplug and reconnect the dongle once, or reboot the PC, before considering the job finished. A successfully stored pairing should reconnect normally without keeping the pairing application open. This procedure is also different from Bluetooth pairing: pairing a mouse through Windows Bluetooth does not bind it to a replacement HyperSpeed receiver.
- Run the correct Mouse Pairing Utility.
- Select the mouse model.
- Insert the replacement receiver.
- Connect the mouse over USB.
- Press PAIR and wait for completion.
- Disconnect the cable and test 2.4 GHz operation.
When USB HyperSpeed or HyperPolling requires a different process
Do not apply the Mouse Pairing Utility instructions to every Razer receiver
Many supported products are handled by Razer USB HyperSpeed Dongle Utility instead. The official workflow starts by connecting the dongle, allowing the utility to detect the device and, where required, complete its update. Razer explicitly warns not to switch off the PC or unplug the receiver while that update is running. The user then follows the displayed pairing instructions; for supported USB-equipped devices, both the dongle and the mouse's wired USB connection are required during pairing.
HyperPolling Wireless Dongle is different again. Razer's current procedure starts in Razer Synapse: connect the HyperPolling dongle, select it, and choose Open Pairing Utility. The compatible mouse should be switched to 2.4 GHz mode, disconnected from USB, and its original device dongle should be removed from the computer. Razer also recommends keeping the mouse close to the HyperPolling receiver during discovery.
Those details matter. Connecting the mouse by cable is correct for the standard Mouse Pairing Utility and USB HyperSpeed workflow, but Razer specifically tells users not to keep a compatible device connected over USB while scanning for it with HyperPolling Pairing Utility. HyperPolling itself is not universal either; the support page contains a defined list of compatible Razer devices.
There are model-specific exceptions as well. The Viper V4 Pro, for example, has a dedicated pairing utility guide. Razer instructs users to connect its wireless dongle through USB-C, connect the mouse with a second USB-C cable and then click PAIR. When a model has its own support article, that model-specific workflow should take priority over generic instructions.
- Mouse Pairing Utility normally works with the receiver and mouse connected over USB.
- USB HyperSpeed Dongle Utility may update the dongle before pairing.
- HyperPolling pairing is launched through Synapse and searches for an unplugged mouse in 2.4 GHz mode.
- Some new models use their own dedicated pairing utility.
What to do when the utility cannot find the mouse
Troubleshoot compatibility before assuming the hardware is defective
If the exact mouse is missing from the utility's device list, do not select a similar model as a workaround. Check Razer's official compatibility table first. The mouse may belong to the USB HyperSpeed utility, require a model-specific tool, use HyperPolling through Synapse or simply be incompatible with the replacement receiver you have.
When the receiver itself is not detected, move it to another USB port and restart the pairing utility. Avoid a hub while diagnosing the problem. If the workflow requires the mouse to be wired, verify that Windows can detect it through the cable and that the cable supports data rather than charging only.
For HyperPolling, remove the mouse's normal dongle, unplug the mouse's USB cable, switch the mouse to 2.4 GHz and place it close to the HyperPolling receiver. Razer's instructions also tell the user to press and hold a button on the device while it is being searched for. Once Synapse discovers it, select the device and choose PAIR.
If pairing continues to fail, search Razer Support using the exact RZ01 model code and check whether a firmware updater is available. Avoid firmware from a visually similar mouse and avoid unofficial utilities that claim to bypass receiver compatibility, as they can complicate the diagnosis rather than solve it.
- Verify the official compatibility list.
- Try another USB port.
- Use a known data-capable cable.
- Temporarily disconnect other Razer receivers.
- Follow the separate HyperPolling requirements exactly.
Verify the new wireless connection after pairing
A moving pointer is a good start, but test the whole mouse
Once pairing reports success, unplug the mouse cable and use only the replacement receiver. Check pointer movement, left and right click, the scroll wheel, side buttons and DPI controls. Disconnect the receiver for several seconds and plug it back in. The mouse should reconnect without running the pairing utility again.
Open Razer Synapse and confirm that the correct device appears and can be configured normally. With a HyperPolling receiver, Synapse is also useful for confirming which device is associated with the dongle. Remove any obsolete receiver from the PC if it is no longer needed so there is no confusion between two similarly named devices.
You can then use the ACC64 Mouse Test to check button presses, scrolling and click behaviour in the browser. This is a useful final check because it can reveal whether an apparent post-pairing issue is actually a defective switch, scroll-wheel problem or another mouse-side fault rather than a receiver problem.
If the mouse reconnects normally after a reboot and after the receiver has been unplugged and reinserted, the new pairing is effectively complete. The utility does not need to remain installed or running continuously merely to maintain the wireless association.
- Test every button and the wheel.
- Reconnect the USB receiver.
- Restart Windows once.
- Confirm the mouse in Razer Synapse.
- Run the ACC64 Mouse Test.
Pairing a Razer mouse with a replacement USB receiver is often straightforward once the correct combination of mouse, dongle and utility has been identified. The critical step is not the PAIR button itself but checking compatibility first. Use Mouse Pairing Utility or USB HyperSpeed Dongle Utility when Razer lists your model there, use Synapse for supported HyperPolling receivers, and give model-specific Razer instructions priority whenever they exist.
FAQ
Can any Razer HyperSpeed dongle be paired with any Razer mouse?
No. Razer maintains specific compatibility lists for its pairing utilities and receivers, so the exact mouse and replacement dongle must be compatible.
Do I need Razer Synapse to pair a replacement dongle?
Not in every case. Mouse Pairing Utility and USB HyperSpeed Dongle Utility can operate as dedicated utilities, while HyperPolling Wireless Dongle pairing is performed through Razer Synapse.
Why does Pairing Utility not detect my Razer mouse?
Common causes include using the wrong utility, an incompatible receiver, a charge-only USB cable or following the wrong connection state. Standard pairing may require the mouse to be wired, whereas HyperPolling discovery requires the compatible mouse to be unplugged and in 2.4 GHz mode.
Can I use Bluetooth instead of replacing the USB dongle?
If your mouse supports Bluetooth, it can be an alternative connection method, but Bluetooth pairing does not pair or reprogram a HyperSpeed USB receiver.
ACC64 editorial article prepared from the cited materials and approved before publication.