
What gaming microphone should you buy, and how do you test it? A practical guide for gamers
A gaming microphone does not need to be studio-grade to make you easy to understand. Placement, pickup pattern, gain and the amount of keyboard or fan noise around your desk matter just as much as the model you buy. This guide explains what to choose for voice chat and streaming, how to set it up, and how to test it under real gaming conditions.
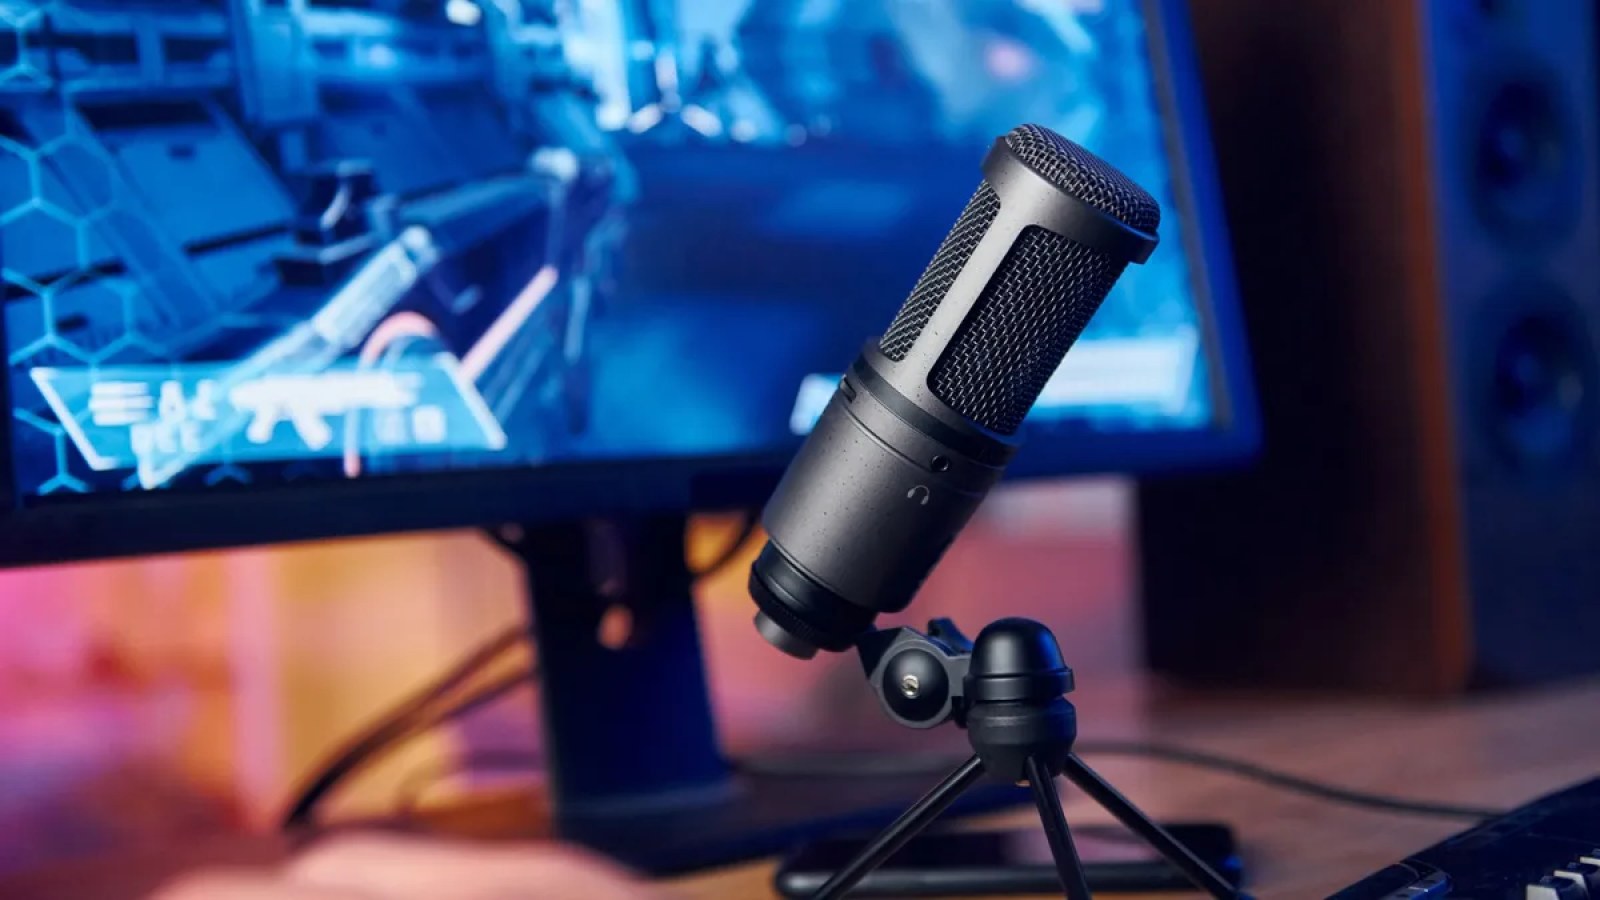
Key takeaways
- For most players, a directional USB microphone is the simplest and most practical starting point.
- Dynamic microphones are often easier to manage in noisy rooms, while condensers tend to reveal more room sound and fine detail.
- Moving the microphone closer to your mouth and lowering gain can improve clarity more than buying a more expensive mic.
- A useful test should include normal speech, loud speech, keyboard noise, mouse clicks, background noise and clipping.
Matching a microphone to your gaming setup
| Situation | Practical choice | Main risk |
|---|---|---|
| Quiet room, normal voice chat | Directional USB microphone | Placing it too far from your mouth |
| Mechanical keyboard and audible PC fans | Dynamic mic used close | Excessive gain can erase the advantage |
| Streaming and commentary | USB mic with monitoring and easy controls | Software compatibility and routing |
| Very small desk | Compact mic or boom arm | Desk stands can transmit vibration |
| Planned audio upgrades | XLR mic plus audio interface | Higher cost and more setup complexity |
Start with your room and desk, not the spec sheet
The best microphone is the one that works in your actual gaming setup
Before comparing microphones, look at where the mic will sit. A microphone placed far behind the keyboard needs more gain to capture your voice, and that also raises key presses, PC fans and room reflections. If you can position the capsule closer to your mouth, you can normally use less gain and improve the balance between your voice and everything else. A small boom arm or better stand can therefore matter more than a long list of premium features.
For one person at a gaming desk, a cardioid or similarly directional pattern is usually the sensible choice. Extra polar patterns can be useful for interviews, group recording or creative work, but they are not required for ordinary Discord or in-game chat. Also consider practical controls: an accessible mute function, physical gain control, headphone monitoring if you need it, and a mount that can be moved without covering your display.
- Check how close the microphone can sit to your mouth during normal play.
- Prioritise a directional pattern for a one-person gaming desk.
- If you type while talking, consider keyboard rejection a core requirement.
- Useful mute and gain controls generally matter more than decorative lighting.
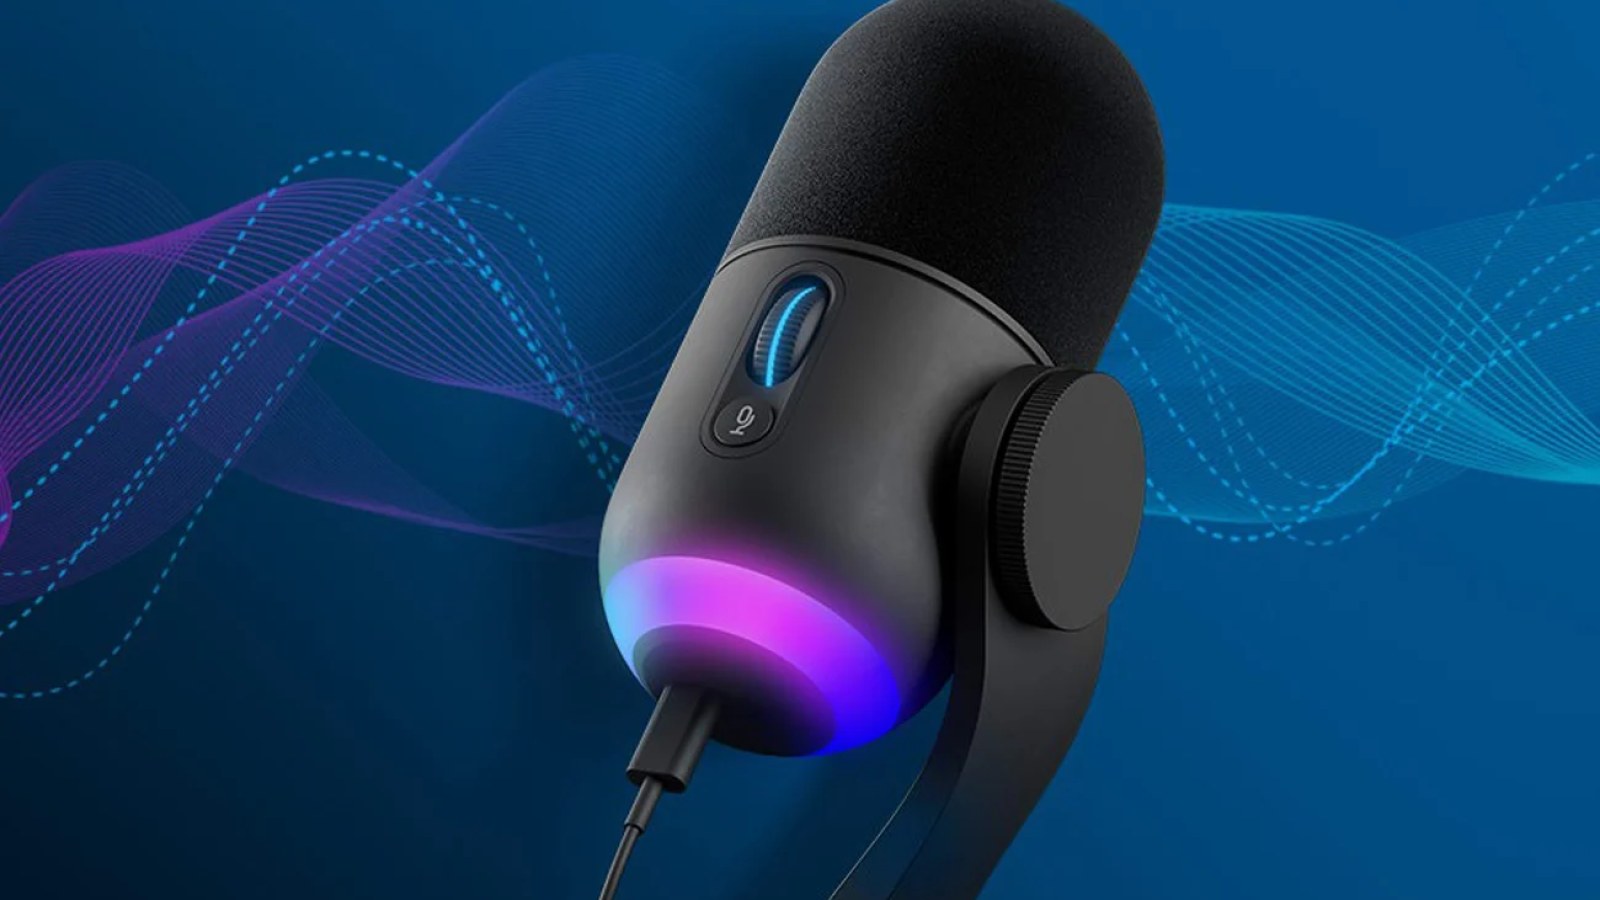
USB, dynamic or condenser: which type fits gaming best?
There is no universal winner because the room changes the result
For most gamers, USB is the convenient choice. It combines the microphone and audio interface in one device, so setup is usually limited to connecting it, selecting the correct input and adjusting the level. That is ideal for Discord, game comms, casual streaming and basic voice-over work. An XLR setup adds an audio interface, more cabling and extra decisions, and makes most sense when you deliberately want a modular audio chain.
A dynamic microphone is commonly used close to the speaker and can be easier to manage in a room with a loud keyboard, hard walls or audible fans. A condenser is typically more sensitive and can capture subtle vocal detail, but that sensitivity may also reveal more room reflections and desk noise. A quiet, softly furnished room can suit a condenser USB mic very well, while a close dynamic mic may need less cleanup in a lively bedroom.
- USB: quickest setup and the fewest extra components.
- Dynamic: especially useful when you can speak close to the microphone.
- Condenser: detailed sound, but often more revealing of the room.
- XLR: choose it when you genuinely want a separate interface and an upgrade path.
Examples of gaming microphones for different needs
Use models as reference points, not as a one-size-fits-all ranking
Current products illustrate the main approaches. The Razer Seiren V3 Mini represents the compact USB category. Logitech G's Yeti GX takes a dynamic USB approach, which can suit players who want the mic close and the room less prominent. HyperX QuadCast 2 is a more feature-rich USB design with selectable pickup patterns and onboard controls. Treat these as examples of different concepts, not a universal ranking.
Do not choose solely by brand or appearance. Check the microphone's dimensions, whether the included stand puts the capsule high enough, how easily it attaches to an arm, and whether controls remain reachable when mounted. Streamers may value direct monitoring, software routing and a convenient mute function. Someone who only needs clear team communication may be better served by a simpler model that is easy to position.
- Small desk: compact USB mic or a short boom arm.
- Noisy keyboard: close-positioned dynamic mic with restrained gain.
- Streaming: monitoring, mute and easy level control become more valuable.
- Multiple speakers around one mic: wider pickup options become more relevant.
How to position and configure a microphone for games
Get the raw signal right before relying on software filters
A good starting point is roughly 10 to 20 centimetres from your mouth, slightly off to the side rather than directly in the path of breath. That is close enough for many desk microphones to capture a strong voice signal without excessive gain. If plosives are harsh, move the mic a little off-axis or use a pop filter. If keyboard noise dominates, moving the microphone closer and reducing gain is normally more effective than moving it away and turning the level up.
Adjust the input while speaking at the volume you actually use during a match. Normal speech should be clear, while excited speech needs enough headroom to avoid clipping. If your chat or streaming software offers automatic gain, noise suppression or compression, test with those features disabled first. A clean raw signal is easier to process; aggressive filters can create pumping, clipped syllables or a metallic sound when they are trying to rescue poor placement.
- Keep the mic close enough that your voice is much stronger than the room.
- Lower gain until speech remains clear without unnecessary background pickup.
- Angle the microphone to reduce breath blasts and desk noise.
- Add noise suppression only after placement and input level are under control.
Is your microphone working as it should?
Check the input level and microphone response right here — no software to install and no need to leave this page.
How to test a gaming microphone properly
Recreate a real match instead of recording one perfect sentence
Select the correct input device and record 30 to 60 seconds that resemble a normal session. Speak at several levels, type a short message, click the mouse and let the PC run as it would during a game. Include several seconds of silence so you can hear the noise floor. Listen on headphones for intelligibility, distracting keyboard transients, fan noise and distortion on louder phrases. If the level rises and falls strangely, repeat the test with automatic processing switched off.
Troubleshoot one variable at a time. If the mic is too quiet, verify distance, input selection, physical gain and system level. If it clips, lower gain. If keyboard noise is excessive, move the mic closer to your mouth and keep the keyboard away from the most sensitive part of the pickup pattern. If the sound is robotic, disable noise reduction, echo cancellation and auto gain temporarily. Compare a local recording with Discord or the game; if the local file is clean, the app settings are the likely cause.
- Record normal speech, a quiet phrase and an excited phrase.
- Type and click while recording.
- Listen to a short section of complete silence.
- Compare a local recording with your chat application.
- Retest after every major change to gain, placement or processing.
For gaming, microphone usability matters more than headline specifications. Most players will be well served by a directional USB microphone that can sit close to the mouth and be muted quickly. A dynamic model is worth considering when the room is noisy; a condenser can be an excellent choice in a quiet setup where you want a little more openness and detail. Whatever you buy, test it with the keyboard, PC fans and the way you actually speak during a match. A correctly positioned mid-range microphone can produce cleaner team comms than an expensive model with too much gain at the opposite side of the desk.
FAQ
Is a USB microphone good enough for gaming?
Yes. For Discord, in-game chat, casual streaming and straightforward recording, a good USB microphone is usually more than sufficient. XLR becomes useful when you want a separate interface, more routing options or a modular setup.
Why does my microphone pick up my keyboard so loudly?
The microphone is often too far from your mouth, gain is too high, or the keyboard sits in a sensitive part of the pickup pattern. Bring the mic closer, lower gain and reposition it before relying on aggressive noise suppression.
What gain should I use?
There is no universal percentage. Use the lowest gain that keeps normal speech comfortably clear while leaving headroom for louder words. The correct setting depends on your voice, distance, microphone and room.
What is the fastest way to test a gaming mic?
Record 30 to 60 seconds of real-use behaviour: speak normally, type, click the mouse and leave a few seconds of silence. Listen for clipping, background noise, level changes and intelligibility, then compare the result with your chat app.
ACC64 editorial article prepared from the cited materials and approved before publication.